Choose J&E Roofing & Siding
The exterior home remodeling experts at J&E Roofing & Siding specialize in all types of roofing services including roof replacement, roof repair and standing seam metal roofing installation. When you’re looking to hire a contractor to perform services on your home, you’re not only looking for a contractor that is qualified to do the job correctly, but also one that offers quality products and quality craftsmanship.
Exterior Remodels
We've Got You Covered
Looking to replace old, beat up shingles? Thinking about upgrading to a standing seam metal roof? Finally getting around adding a roof to your driveway, front porch or patio? We do it all!

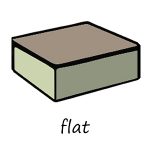
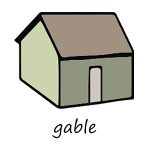
Regardless if you have a single family dwelling or town house, a flat roof or gable roof, and asphalt shingles or standing seam metal, our experts will work with you to choose the best solution for YOUR home. Take a look at some of our recent before and after pictures in our portfolio section below and click on the “Free Consultation” button to set up a free at-home estimate. And do yourself a favor and scroll down to our educational section and learn about roofing materials, roofing styles, roofing products, and most importantly the roofing process.
Residential Roofing

Commercial Roofing

Recent Portfolio
Ambler
This two story cape cod home in Ambler, Pennsylvania needed a complete exterior overhaul. J&E Roofing & Siding replaced the roof, windows, gutters, vinyl siding, and even redid the stucco.
Ply Mtg
This two story single family home in Plymouth Meeting, Pennsylvania needed a complete exterior overhaul. J&E Roofing & Siding replaced the roof, windows, gutters, vinyl siding and even extended the roof.
Blue Bell
This two story single family home in Blue Bell, Pennsylvania needed quite a bit of work. J&E Roofing & Siding replaced the upper and lower roofs, and all of the vinyl siding as well as the trim.
Areas Serviced
- Narberth
- Conshohocken
- Collegeville
- Chester Heights
- Plymouth Meeting
- Swarthmore
- Yardley
- Ambler
- Chalfont
- North Wales
- Audobon
- Ridley Park
- Media
- Hatboro
- Perkasie
- Malvern
- Trappe
- Horsham
- Upper Darby
- Bensalem
- Lower Merion
- Haverford
- Cheltenham
- East Norriton
- Warminster
- Radnor
- Tredyffrin
- Whitehall
- Upper Moreland
- Springfield
Contact Us Today For a Free Consultation
Learn about Roofing
How to Tell When You Need a New Roof?
Think you may need a new roof but are not definite? Below is a do-it-yourself roof inspection guide for homeowners to use to figure out whether a new roof is or is not needed. This guide will focus on three main points:
- Performing a roof check on the interior of your home
- Performing a roof check on the exterior of your home
- And, last but not least what to do if you do in fact identity roof damage
Performing a Roof Check on the Interior of your Home
As you may have guessed, the best way to evaluate the condition of your roof from inside your house is the attic. If you do not have adequate lighting in your attic be sure to bring a flashlight. That said your first sign you are looking for does not require a flashlight. In fact, it requires complete darkness. Your 1st test is to look around to see if any light is shining through the roof boards. 2nd, check for dark stains or dark streaks on the ceiling or underside of your roof. Generally, dark stains come from a leak in the roof leading to moisture buildup in your attic. Moisture will eventually lead to not only damage to the roof but also the interior structure of your home. 3rd, look for any sagging areas. The 4th step in the interior roof process involves looking for obvious signs of leaks and water damage.
Performing a Roof Check on the Exterior of your Home
Now that you are all finished inspecting your roof from the interior of you house, it is time to perform a roof check on the exterior of your house. It is important to remember that if you did not find any damage while you were looking around in the attic does not mean your roof does not have any damage on the other side. Inspecting your roof from the outside is a great way to identify small imperfections that could eventually lead to bigger headaches down the road.
It is worth noting that while an exterior roof check should be performed on a somewhat regular basis, this can often be dangerous especially without the right equipment. So, please do not hesitate to call in a professional. Below are some things to look for:
- noticeable dark streaks and stains
- obvious sagging areas
- signs of rotting, splitting, or decaying tiles/shingles
- extreme accumulation of moss and algae
- missing shingles
- high amounts of shingle granules in the gutter
- damages to the chimney and roof flashing
- damages to the valleys
What to do If You do in Fact Identity Roof Damage
At the end of the interior and exterior roof inspections make sure to take specific notes and photographs to share with a professional roofing expert. Do yourself a favor and take care of the issues sooner rather than later. If you need an inspection repair estimate call a local roofing contractor. Most will offer free inspections so you have nothing to lose.
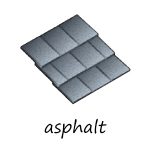
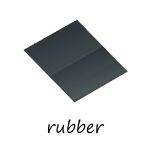
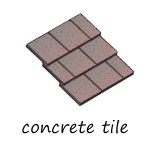
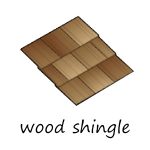
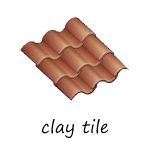
Common Roofing Materials


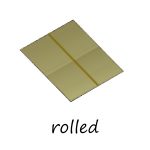
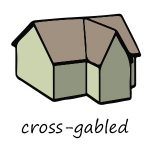
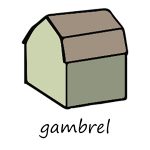
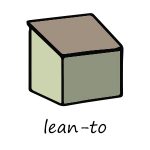
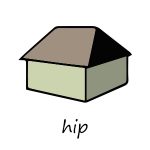
Common Roof Types


Common Roof Manufacturers
The Roofing Process – From Start to Finish
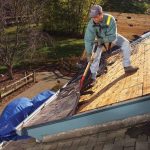
Tear off shingles
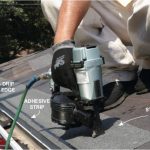
Install drip edge
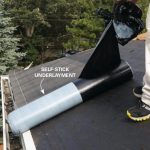
Install underlayment

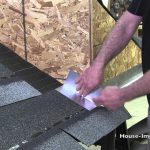
Secure felt paper
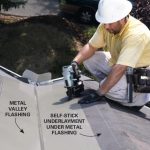
Waterproof valleys
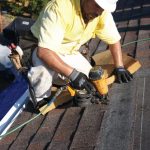
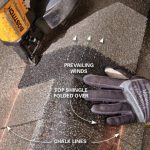
Nail on shingles
Install dormer flashing
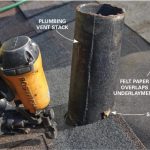
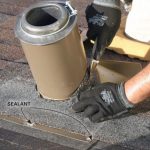
Seal stacks/vents
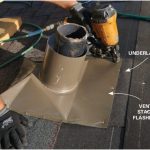
Flash stacks/vents
Shingle vents
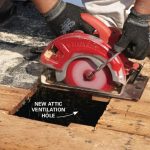
Add ventilation
Cap ridge vent